Table Runner Tutorial!
Learn how to format your file for your very own table runner!
About Table Runner Templates
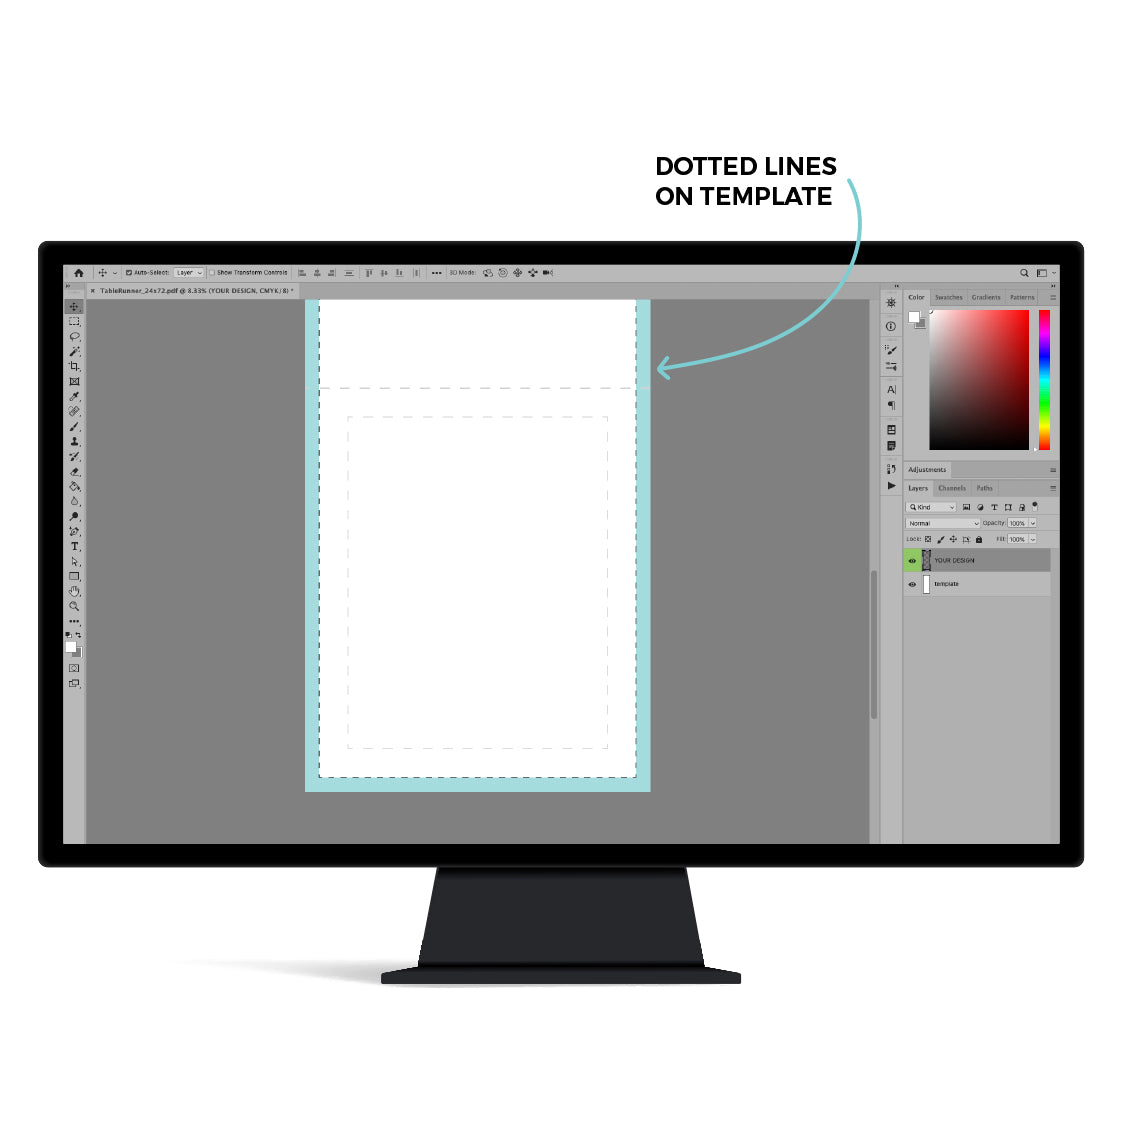
In each template, you will see dotted lines for general design placement.
This placement are GENERAL GUIDELINES. Actual placement will depend on the actual height of tables and how far down the table you lay the printed runner.
Template Instructions
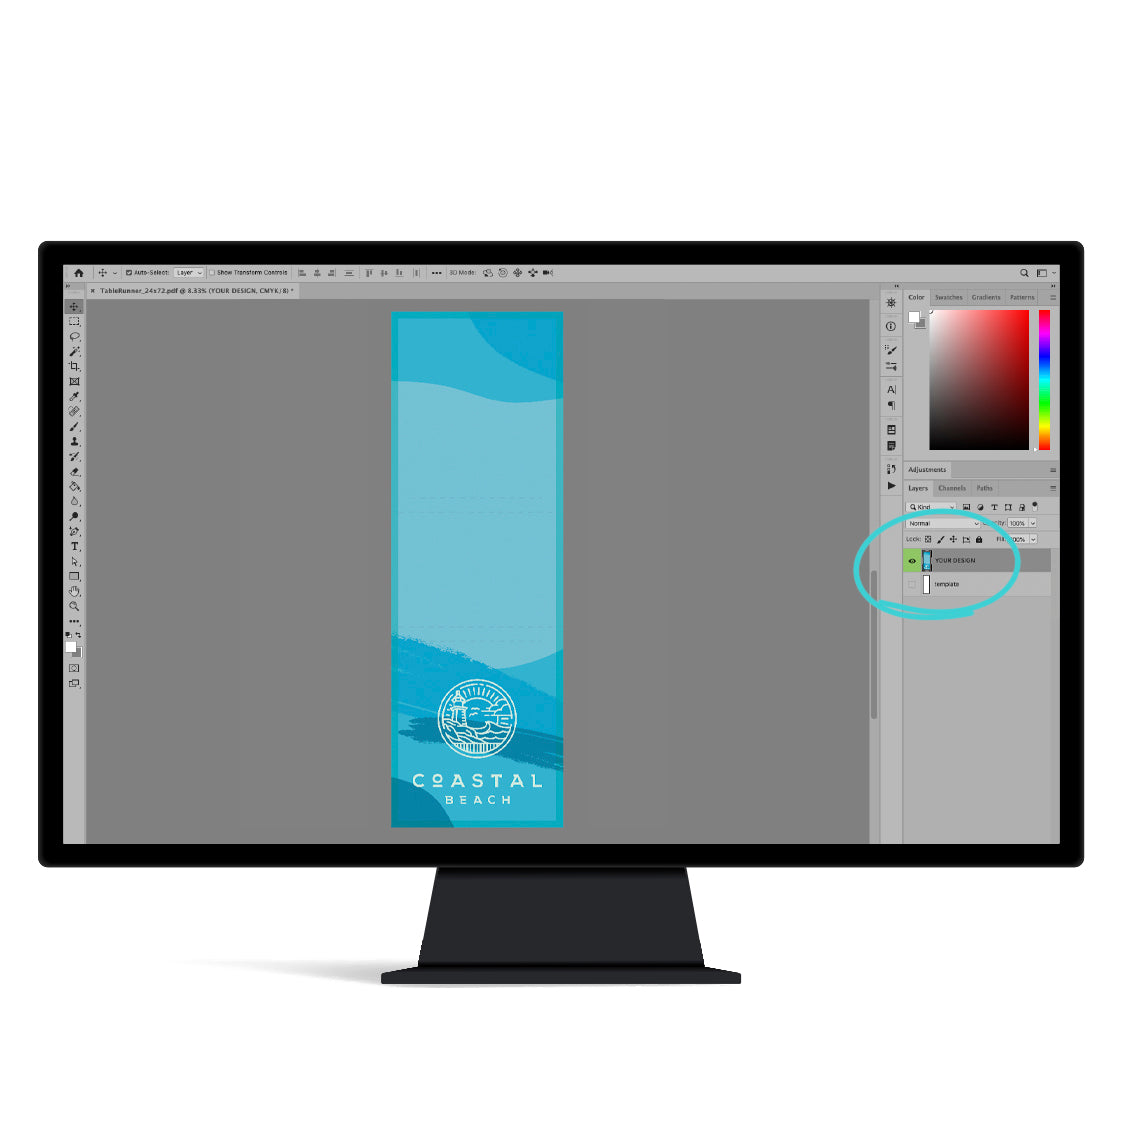
☑ Download the template for the table runner size you'd like. Or, make a file to the dimensions of the runner you'll be ordering.
☑ Place your art in the file as you'd like.
☑ Completely fill the background with whatever color/pattern you'd like. Including the blue border area!
☑ Hide all template layers when exporting.
☑ Save as PDF or High-Quality JPG.
Keep all text & important information within the white area of the template. The blue area of the template is your safety zone - it could potentially be cut off or have hem lines sewn over it.

Logo & Art Placement
The dotted lines in the templates are suggestions for placement of your art & logos. The actual layout and placement is entirely up to you!
☑ Your primary logo/art should be placed right-side up in the bottom half of the runner file.
The rest of the runner will be for the top and back of your table.
There is no “standard” table size, so keep that in mind when you design. Tables typically range from 28”-30” tall and 24”-36” deep.
Required Programs?
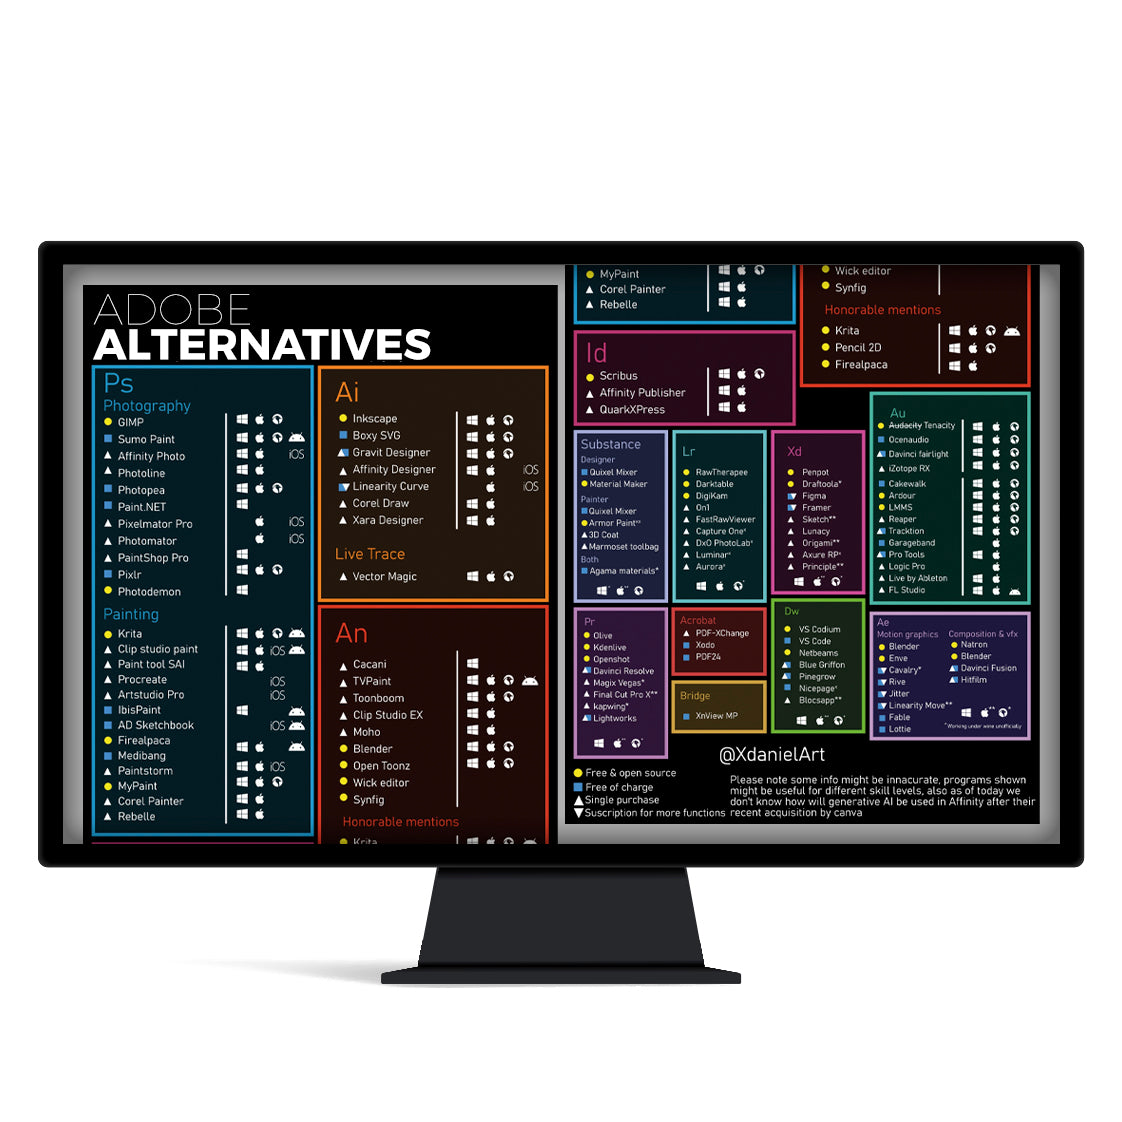
You do not need Adobe Photoshop, Illustrator, or any other Adobe program to format your table runner file! You can use any image editing or design software, as long as it allows you to export in CMYK.
- Clip Studio Paint
- Procreate
- Canva
- Photopea (free browser-based Photoshop alternative)
- Affinity Designer / Photo
- And many more!
As long as your file is set up to match the template, has the correct dimensions, and is exported in CMYK color mode, it’s good to go!
Dual-Ended Printing
Table runners are printed on one side of the fabric.
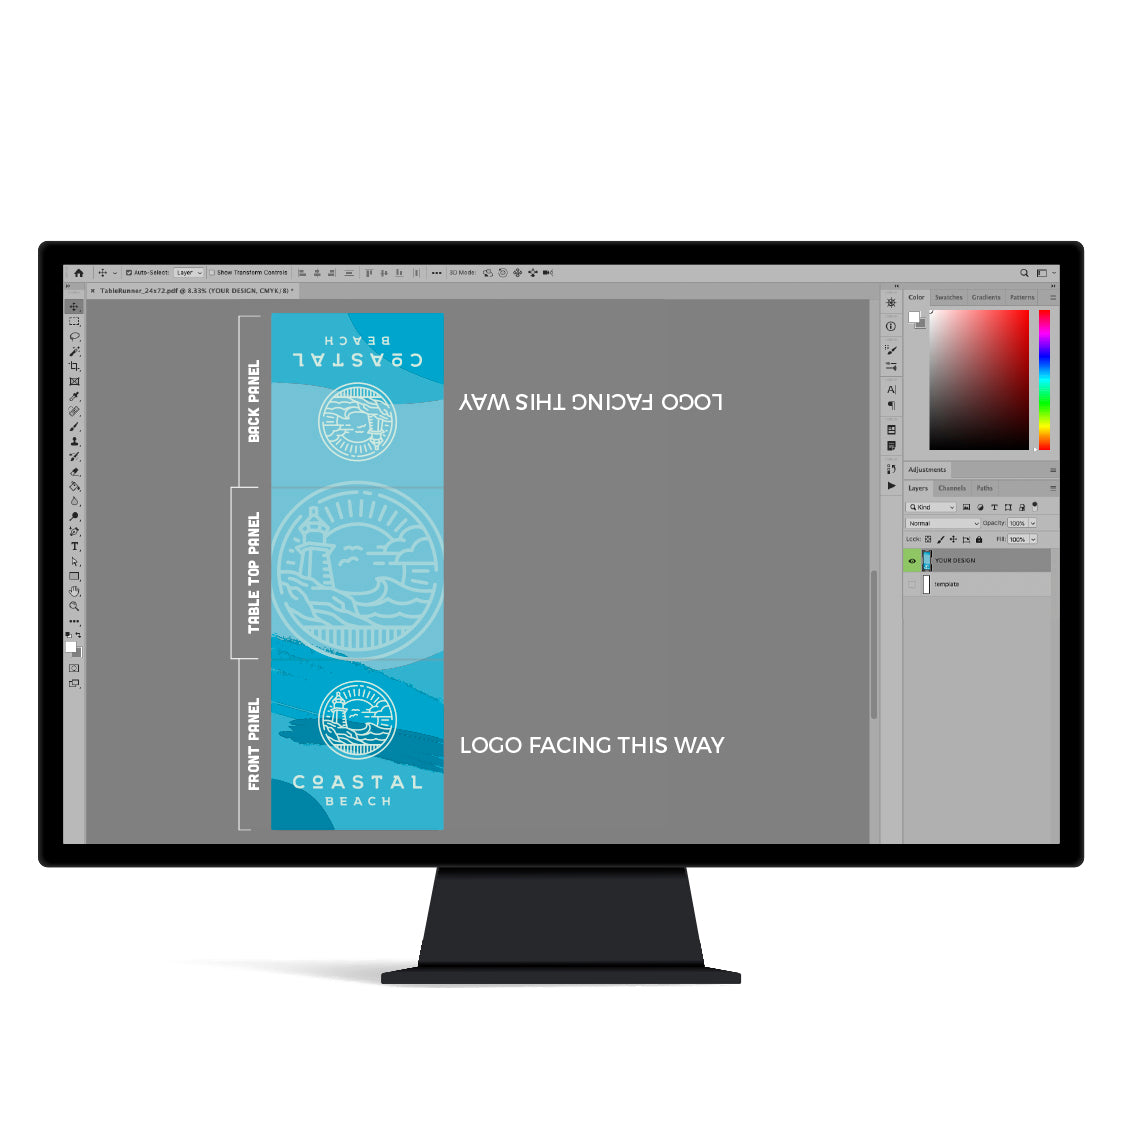
But you can make a dual-ended runner by placing a logo on either end of the template.
It can be the same - or two entirely different logo/designs. This gives you options during setup!
☑ Make sure the logos are facing the correct way when formatting the runner! Do not "flip" your logo, you want to rotate it 180°.

Design → Print
Any Color (as long as its CMYK-friendly).
Any Design.
Backgrounds can be any color, gradient, pattern, or image that you'd like!
Full-color printing from edge to edge!
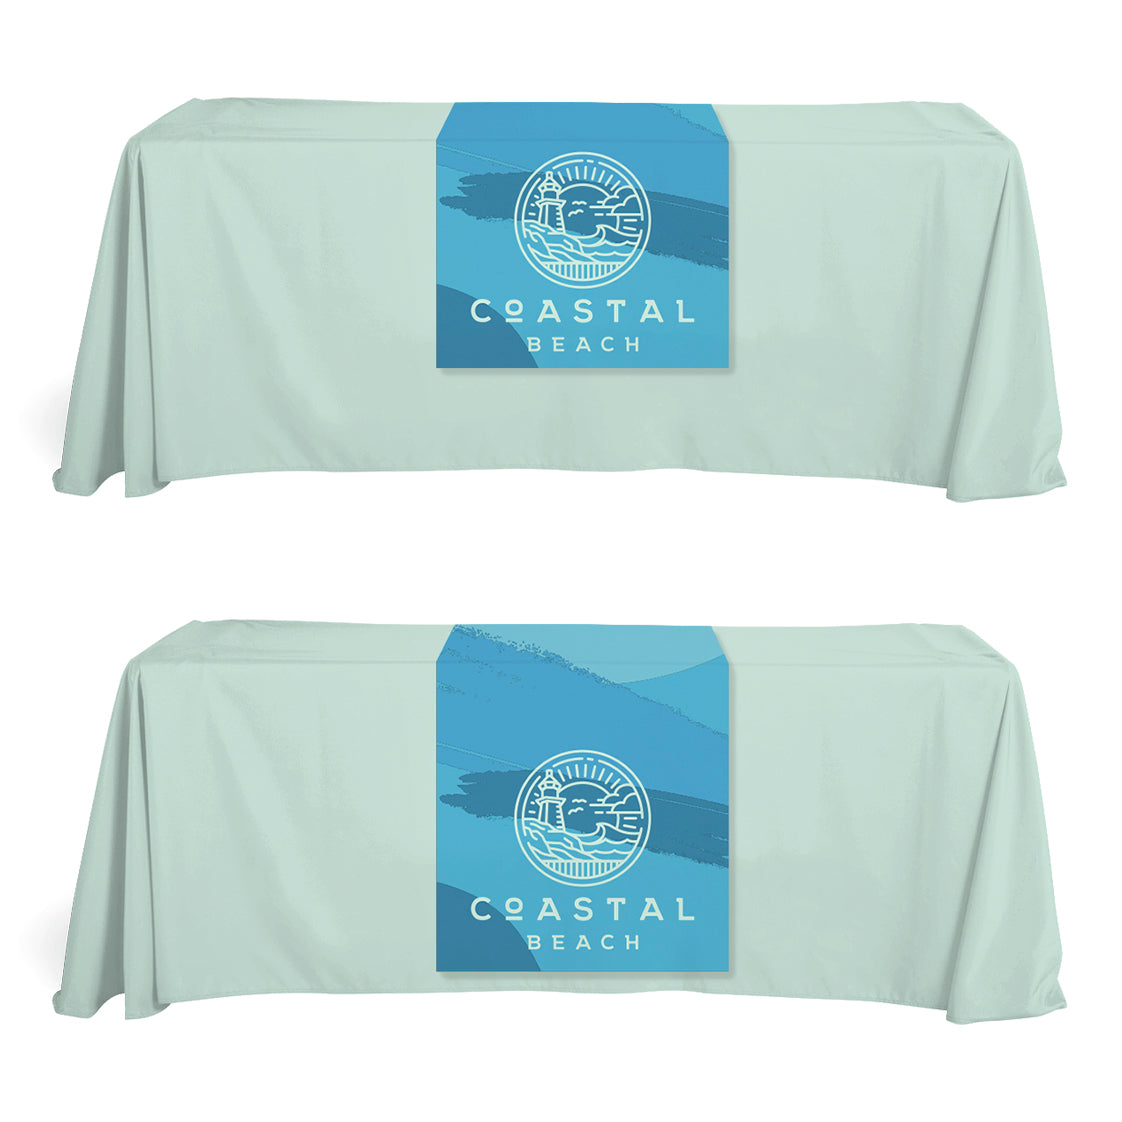
Setting up a Table Runner
I often have people ask where to place logos and text on their table runner.
On the templates I provide, there's a pretty large area for where to put your design. That space represents the height of a 'typical' table.
BUT, keep in mind -- actual table heights can vary quite a bit. Also, how far down you hang your table runner towards the floor will affect that spacing too! You can design a runner to be pretty high up or to hang pretty low.
Design Your Table Runner YOUR Way
The table runners I offer are printed in full color, edge to edge, which gives you total freedom in how you customize your design.
Whether you're looking for something simple or a bit more complex, the possibilities are endless. Here are just a few ideas to get you started:
-
Logo in the Center (Front)
Place your logo right in the middle of the front of your table runner for a clean, professional look.
-
Front and Back Logo
Want more versatility? Add your logo to both the front and back sides, and you can even have a different logo on each side!
-
Dual Design Flexibility
Mix things up with a logo on one side and an illustration on the other, giving you the flexibility to showcase two table runners in one!
-
Custom Backgrounds
Keep the same logo on both sides but switch up the backgrounds for different looks depending on the event.
-
Full Illustration Design
Want a bold, edge-to-edge illustration? Go for it! You can design your table runner with a complete illustration that stretches across the entire front or even the whole runner.
-
Full Illustration with Background Elements
Get creative and design the entire runner with an illustration that includes detailed background elements.
ORDERING CHECKLIST:
Use the template that is the same size as the table runner you're ordering.
Make sure your file is:
- the right size and dimensions
- at LEAST 150dpi (300dpi is better)
- CMYK only
- NOT a PNG (JPGs and PDFs preferred)
- fully formatted & ready to print
